BotW Style Specular Highlights in Unity


Overview
The other day a friend pointed out to me the “hatch marks” present on character models in Breath of the Wild.
Admittedly, I had never noticed them before as it is a very subtle, but efficient, detail. But once I saw it, I had to try my hand at replicating them. After all, this is an effect from Breath of the Wild that I have not seen already covered in any writing or video.
The effect itself is relatively simple: modified specular lighting based on some texture input. The interesting/challenging part is the implementation.
Toon Shaders in URP
Though this ramble does not cover implementing a toon shader in Unity URP, I will go ahead and quickly cover how to implement a toon-shader in Unity URP. Well, for the deferred renderer at least. This is important context as the specular effect we are meant to be focusing on is for a toon shader.
To implement the toon/cel effect we have to override the default lighting calculations done by the URP renderer. Note this is not modifying the BRDF used in the the GBuffer passes which allows the toon shader to be compatible with just about any and every material you may already have. Instead we have to provide an override to the Stencil Deferred PS shader used by the renderer.
So locate and select your DeferredRenderer.asset and switch the inspector to Debug mode.

You can now provide an override to the Stencil Deferred PS shader. I recommend making a copy of the built-in StencilDeferred.shader with the changes below.
Replace the following,
half4 DeferredShading(Varyings input) : SV_Target
{
    ...

    InputData inputData = InputDataFromGbufferAndWorldPosition(gbuffer2, posWS.xyz);

    #if defined(_LIT)
        #if SHADER_API_MOBILE || SHADER_API_SWITCH
        // Specular highlights are still silenced by setting specular to 0.0 during gbuffer pass and GPU timing is still reduced.
        bool materialSpecularHighlightsOff = false;
        #else
        bool materialSpecularHighlightsOff = (materialFlags & kMaterialFlagSpecularHighlightsOff);
        #endif
        BRDFData brdfData = BRDFDataFromGbuffer(gbuffer0, gbuffer1, gbuffer2);
        color = LightingPhysicallyBased(brdfData, unityLight, inputData.normalWS, inputData.viewDirectionWS, materialSpecularHighlightsOff);
    #elif defined(_SIMPLELIT)
        SurfaceData surfaceData = SurfaceDataFromGbuffer(gbuffer0, gbuffer1, gbuffer2, kLightingSimpleLit);
        half3 attenuatedLightColor = unityLight.color * (unityLight.distanceAttenuation * unityLight.shadowAttenuation);
        half3 diffuseColor = LightingLambert(attenuatedLightColor, unityLight.direction, inputData.normalWS);
        half smoothness = exp2(10 * surfaceData.smoothness + 1);
        half3 specularColor = LightingSpecular(attenuatedLightColor, unityLight.direction, inputData.normalWS, inputData.viewDirectionWS, half4(surfaceData.specular, 1), smoothness);

        // TODO: if !defined(_SPECGLOSSMAP) && !defined(_SPECULAR_COLOR), force specularColor to 0 in gbuffer code
        color = diffuseColor * surfaceData.albedo + specularColor;
    #endif

    return half4(color, alpha);
}
With,
half4 DeferredShading(Varyings input) : SV_Target
{
    ...

    InputData inputData = InputDataFromGbufferAndWorldPosition(gbuffer2, worldPos.xyz);
    BRDFData brdfData = BRDFDataFromGbuffer(gbuffer0, gbuffer1, gbuffer2);

    color = ToonLighting(brdfData, unityLight, inputData);

    return half4(color, alpha);
}
Where ToonLighting contains, well, your toon lighting shader code. The article “Toon Shader” on roystan.net does a good job of explaining the basics of the relevant lighting code.
Though, if you are in a copy-pasting mood you can start off with something like this:
float3 ToonLighting(
    in BRDFData brdfData,
    in Light light,
    in InputData inputData)
{
    float3 viewDir = normalize(_WorldSpaceCameraPos.xyz - inputData.positionWS);
    float3 halfVec = normalize(light.direction + viewDir);
    float normalDotLightDir = saturate(dot(inputData.normalWS, light.direction));
    float normalDotHalfVec = dot(inputData.normalWS, halfVec);

    // Direct Lighting
    float lightIntensity = smoothstep(0.0f, 0.01f, normalDotLightDir);
    float3 directLight = light.color * lightIntensity;

    // Specular Lighting
    float glossiness = (1.0f - brdfData.roughness) * 64.0f;
    float specularIntensity = pow(normalDotHalfVec * lightIntensity, glossiness * glossiness);
    float3 specularLight = brdfData.specular * smoothstep(0.009f, 0.01f, specularIntensity);

    // Total Lighting
    float attenuation = saturate(smoothstep(0.1f, 0.9f, light.shadowAttenuation));
    half3 lighting = (saturate(brdfData.albedo * directLight) + specularLight) * attenuation;

    return lighting;
}
What Did Not Work

With the toon shader formalities out-of-the-way, we can now discuss what did not work. This is important because we tend to learn more from our failures then when the answer is handed directly to us.
My initial thought when breaking down the effect was that “it is clearly a modified specular highlight, so we simply have to adjust the specular calculations in the toon shader.” This was both right and wrong.
The first few attempts took place within ToonLighting where I sampled a texture using the inputData.positionWS.xz as the UV coordinates. Doing so I discovered the only way to actually provide said texture is by using a global texture via Shader.SetGlobalTexture in the C# code.
Adjusting the specularIntensity in the above ToonLighting with:
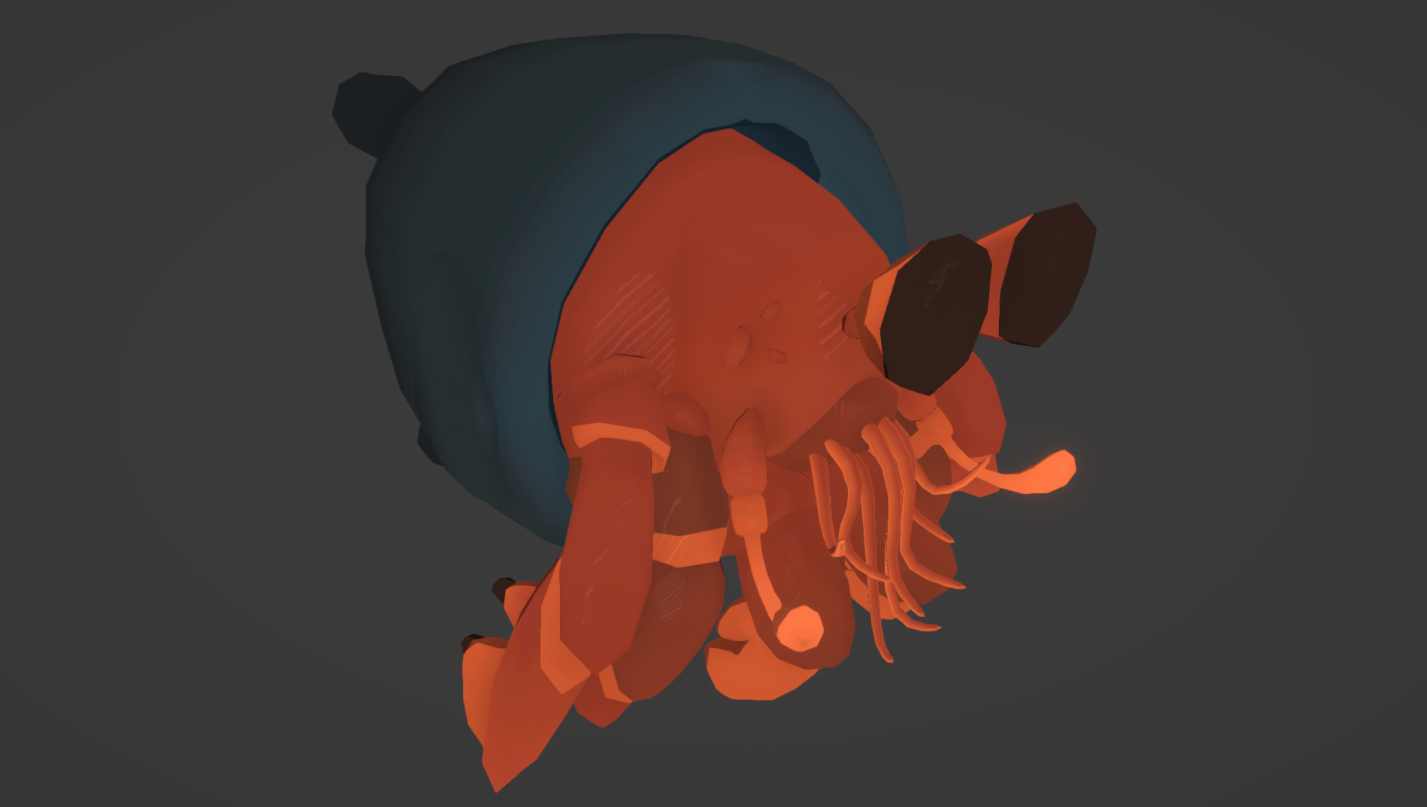
specularIntensity *= SAMPLE_TEXTURE2D(_DevGlobalTexture, sampler_DevGlobalTexture, inputData.positionWS.xz).r;Resulted in this not-quite right crab:

Notice the stretching happening on more vertical surfaces as we are only sampling against X and Z, effectively ignoring Y.
So my next thought was “how do we sample along a 3D surface and not an assumed 2D plane?” The obvious answer, at least if you have ever spent time writing your own terrain shaders, is Triplanar Mapping.
(Un)fortunately, I have spent quite some time writing my own terrain shaders (at this point I have replaced the Unity ones 3 or 4 times) and had a TriplanarSampling.hlsl utility file at hand.
TriplanarUV triUV = GetTriplanarUV(inputData.positionWS, inputData.normalWS, 1.0f);
float triWeights = GetTriplanarWeights(inputData.normalWS, 1.0f, 0.1f);
float triplanarModifier = SampleTriplanar(_DevGlobalTexture, sampler_DevGlobalTexture, triUV, triWeights, 10.0f).r;

specularIntensity *= triplanarModifier;
Plugging that in,

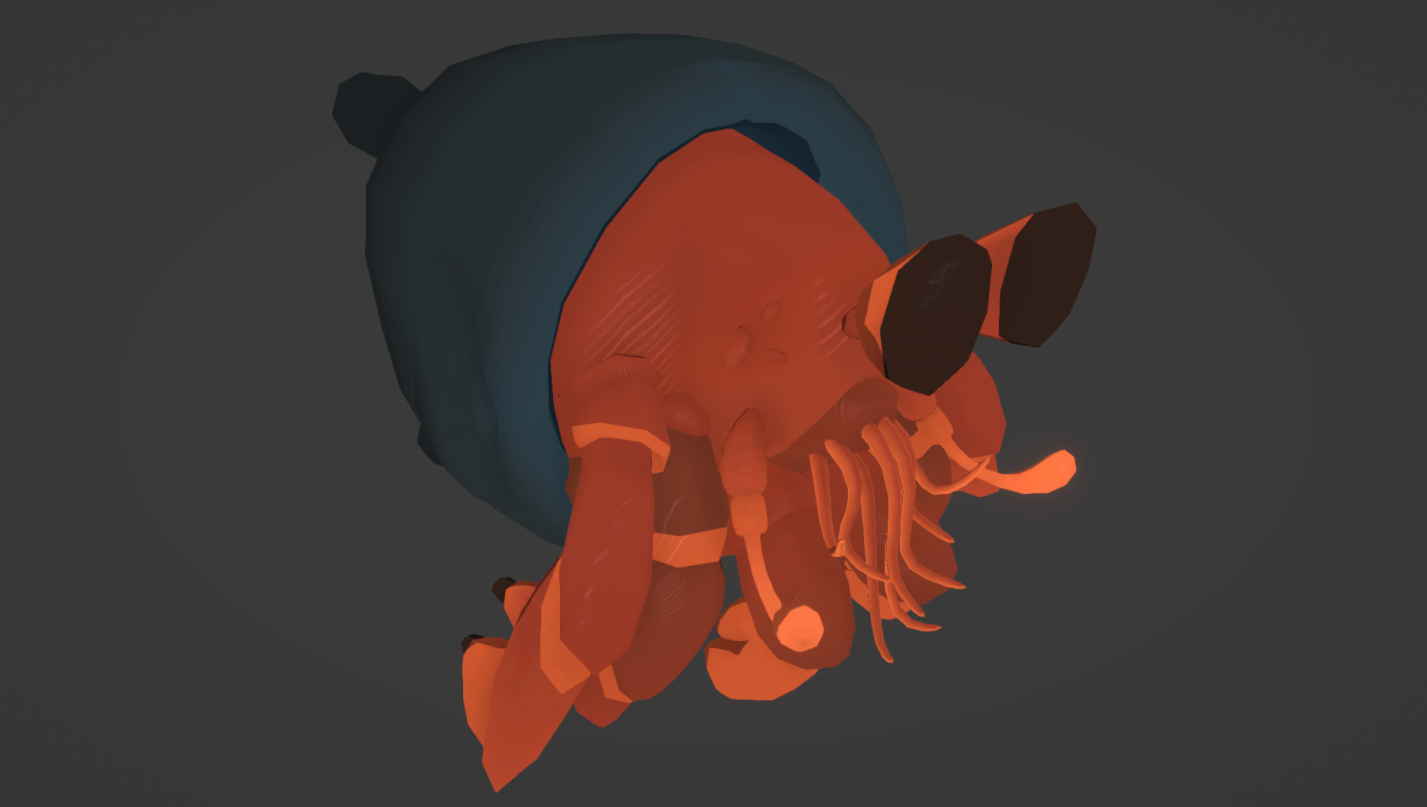
Spiderweb crab! Can file that away for Halloween, but definitely not what we had in mind. Here you can see the triplanar sampling doing its job and blending our hatch line texture into a grid pattern.
Next I tried clutching at straws and doing adjustments with the normal map. This obviously didn’t work as the normal map affects all lighting, and not just the specular component, but it did produce some visually interesting results. But at this point I was feeling pretty frustrated at failing at the effect and annoyed at how good those developers over at Nintendo are.
Until I took my dog on a walk.
What Actually Works

For me, my brain flows best when I am moving. Especially when walking my dog.
While on that walk I realized just how well the lines flow along the characters, following the contours of their meshes. I was able to visualize this in my head even better following the normal map antics. And that is when I realized that the effect is two-fold: the texture sampling occurs during the GBuffer pass while the specular modifications happen in the Lighting pass. But how do we pass the sampled texture to the Lighting pass?
Within UnityGBuffer.hlsl we have the definition of FragmentOutput, the result of our GBuffer fragment shader.
struct FragmentOutput
{
    half4 GBuffer0 : SV_Target0;        // (albedo.r, albedo.g, albedo.b, material flags)
    half4 GBuffer1 : SV_Target1;        // (specular.r, specular.g, specular.b, occlusion)
    half4 GBuffer2 : SV_Target2;        // (normal.r, normal.g, normal.b, smoothness)
    half4 GBuffer3 : SV_Target3;        // emissive + GI + lighting

    #ifdef GBUFFER_OPTIONAL_SLOT_1
    GBUFFER_OPTIONAL_SLOT_1_TYPE GBuffer4 : SV_Target4;
    #endif
    #ifdef GBUFFER_OPTIONAL_SLOT_2
    half4 GBuffer5 : SV_Target5;
    #endif
    #ifdef GBUFFER_OPTIONAL_SLOT_3
    half4 GBuffer6 : SV_Target6;
    #endif
};
Below is a fairly standard URP Deferred GBuffer Pass Fragment Shader:
FragmentOutput FragMain(VertOutput input)
{
    float4 albedo     = SAMPLE_TEXTURE2D(_AlbedoMap, sampler_AlbedoMap, input.uv);
    float  alpha      = albedo.a;
    float  metallic   = _Metallic;
    float  smoothness = _Smoothness;
    float  occlusion  = 1.0f;
    float3 specular   = (float3)1.0f;
    float3 emission   = (float3)0.0f;

    BRDFData brdfData;
    InitializeBRDFData(albedo.rgb, metallic, specular, smoothness, alpha, brdfData);

    InputData inputData;
    InitializeInputData(input, input.normal, inputData);

    Light mainLight = GetMainLight(inputData.shadowCoord, inputData.positionWS, inputData.shadowMask);
    MixRealtimeAndBakedGI(mainLight, inputData.normalWS, inputData.bakedGI, inputData.shadowMask);

    float3 finalColor = GlobalIllumination(brdfData, inputData.bakedGI, occlusion, inputData.positionWS, inputData.normalWS, inputData.viewDirectionWS);

    FragmentOutput output = BRDFDataToGbuffer(brdfData, inputData, smoothness, emission + finalColor, occlusion);

    return output;
}
As you can see, most shaders simply set specular to (1.0, 1.0, 1.0) or at the most allow a _SpecularTint material property. For this effect, we instead want to sample from our hatch line texture.

float3 specular = _SpecularTint * SAMPLE_TEXTURE2D(_SpecularHighlightMap, sampler_SpecularHighlightMap, input.uv * _SpecularMapTiling).rgb;However, this will either have no effect or the wrong effect. The outcome depends on if you have _SPECULAR_SETUP defined, which is a keyword that the InitializeBRDFData function checks for. Either way, its not what we want because we do not want to influence the PBR lighting calculations. So set the specular back to what it was,
float3 specular = (float3)1.0f;Instead we are passing through the texture sample to the lighting pass. We will do so making use of the GBuffer1.rgb which stores the specular. We can get away with this because we are in control of the Lighting pass which operates from these buffers.
FragmentOutput output = BRDFDataToGbuffer(brdfData, inputData, smoothness, emission + finalColor, occlusion);

float3 gbufferSpecular = _SpecularTint * SAMPLE_TEXTURE2D(_SpecularHighlightMap, sampler_SpecularHighlightMap, input.uv * _SpecularMapTiling).rgb;
output.GBuffer1 = float4(gbufferSpecular, 0.0f);

return output;
Returning to our ToonShader we modify it to take as input this GBuffer1.
// Modified StencilDeferred.shader
color = ToonLighting(brdfData, unityLight, inputData, gbuffer1);
// ToonLighting.hlsl
half3 ToonLighting(
in BRDFData brdfData,
in Light light,
in InputData inputData,
in float4 gbuffer1)
{
// ...
}Then we update the specular calculations:
float specularThickness = 64.0f;
float glossiness = (1.0f - brdfData.roughness) * specularThickness;
float specularIntensity = pow(normalDotHalfVec * lightIntensity, glossiness * glossiness);

specularIntensity  = smoothstep(0.0f, 1.0f, specularIntensity * 2.0f);       // Soft edge to allow fading out of the texture.
specularIntensity *= (gbuffer1.rgb * 2.0f);                                  // Apply textured specular modifier.
specularIntensity  = (glossiness < 0.001f ? 0.0f : specularIntensity);

float3 specularLight = brdfData.specular * specularIntensity;
There are two main changes in the code above:
- We modify our specular by our sampled texture via
gbuffer1.rgb - We revert the specular to a more traditional non-toon shader soft fall-off.
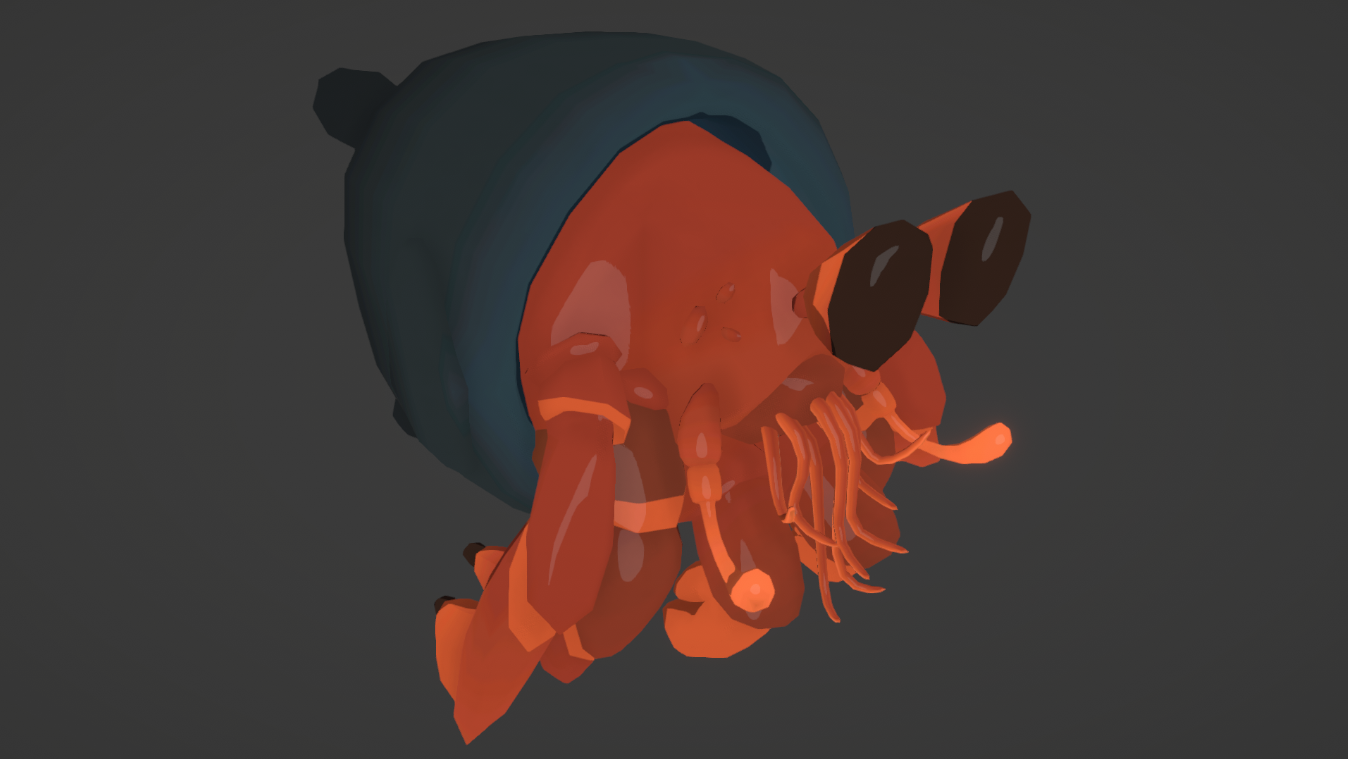
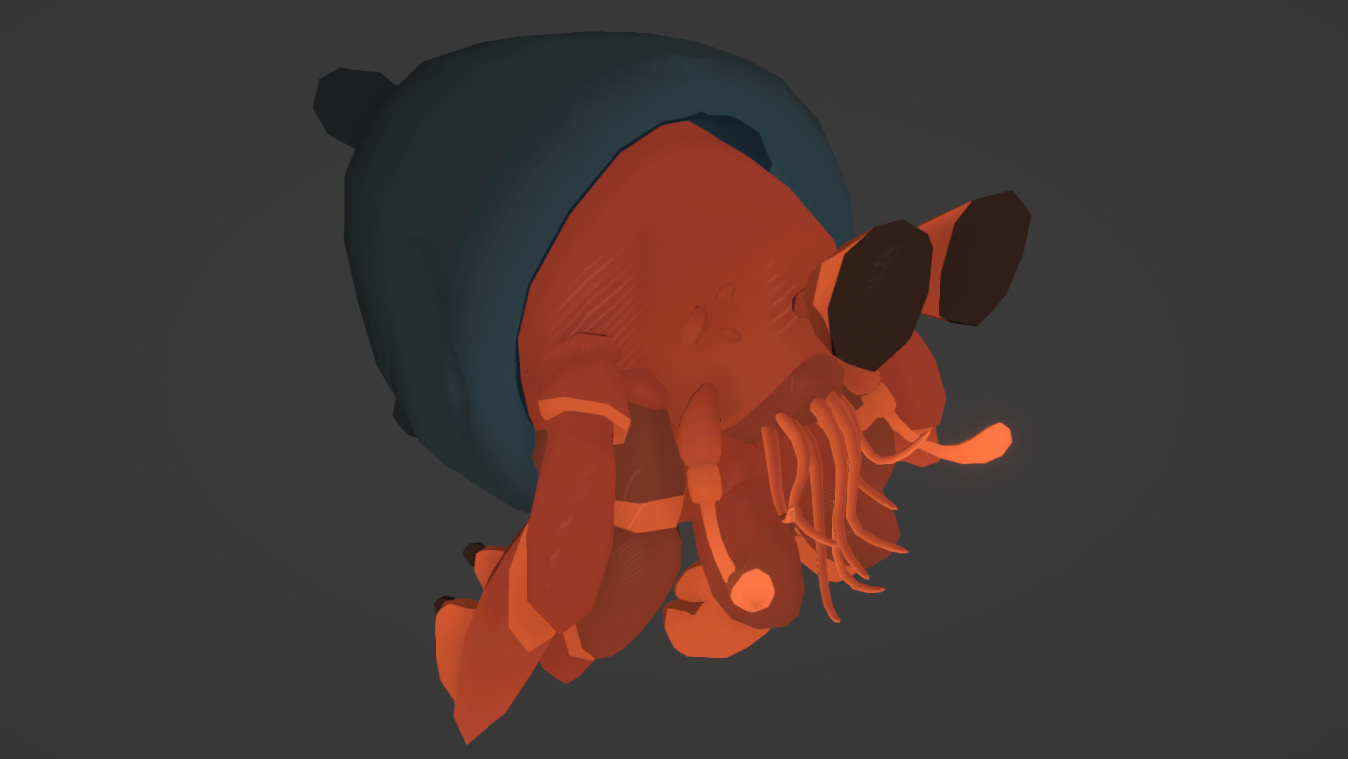
The second step is crucial to prevent hard edges to our specular highlights as shown below.


Summary
There we have it, we have recreated yet another Breath of the Wild effect. One that can’t be done with shader graphs or particle effects and requires some good old-fashioned HLSL and Unity hacking.
Implementing this in a forward renderer would be even simpler and should follow the same basic principles. However Breath of the Wild uses a deferred renderer and so the solution shown is likely more true to the source.
And so ends perhaps my most rambling of rambles.