Volumetric Cloud Banding Artifacts

Overview
Recently, I implemented volumetric cloud rendering via raymarching for the second time. The first time was 6 years ago way back in 2017. Early on in both endeavours the implementations suffered from the annoying, and at times soul crushing, cloud banding artifact.
Though I have some experience with raymarching, it is by no means an area in which I consider myself an expert. And so for both attempts I struggled to learn (and relearn) the proper solutions to address the banding. So now I present a few solutions to this issue, which may be obvious to some, but will hopefully help others in my place and likely help myself in the future at some point.
The Problem
To provide a fix, we must first know what the problem is.
The banding artifacts are a result of undersampling during the raymarch and gathering of light/density. It is not an issue unique to cloud rendering, and can affect any raymarched scene. However it tends to be most obvious in accumulators, as is done with clouds.
Undersampling occurs due to the fixed step nature of raymarching. As we step along the ray we check if we are within our volume. Once we detect that we are inside we either return a hit for hard surfaces, or start accumulating the volume medium for “soft” surfaces. Below we demonstrate undersampling the surface of a sphere, where gray circles indicate misses and green circles are hits. Due to the step size of those particular rays, what should be smooth curve is actually interpreted as a stair-stepped or even zigzagged surface.

Solutions
Because of the inherent nature of raymarching there will always be some level of error due to rays overstepping their targets, but the artifacts can be reduced. Now that we understand the problem, we can start discussing some solutions.
Increased Step Count
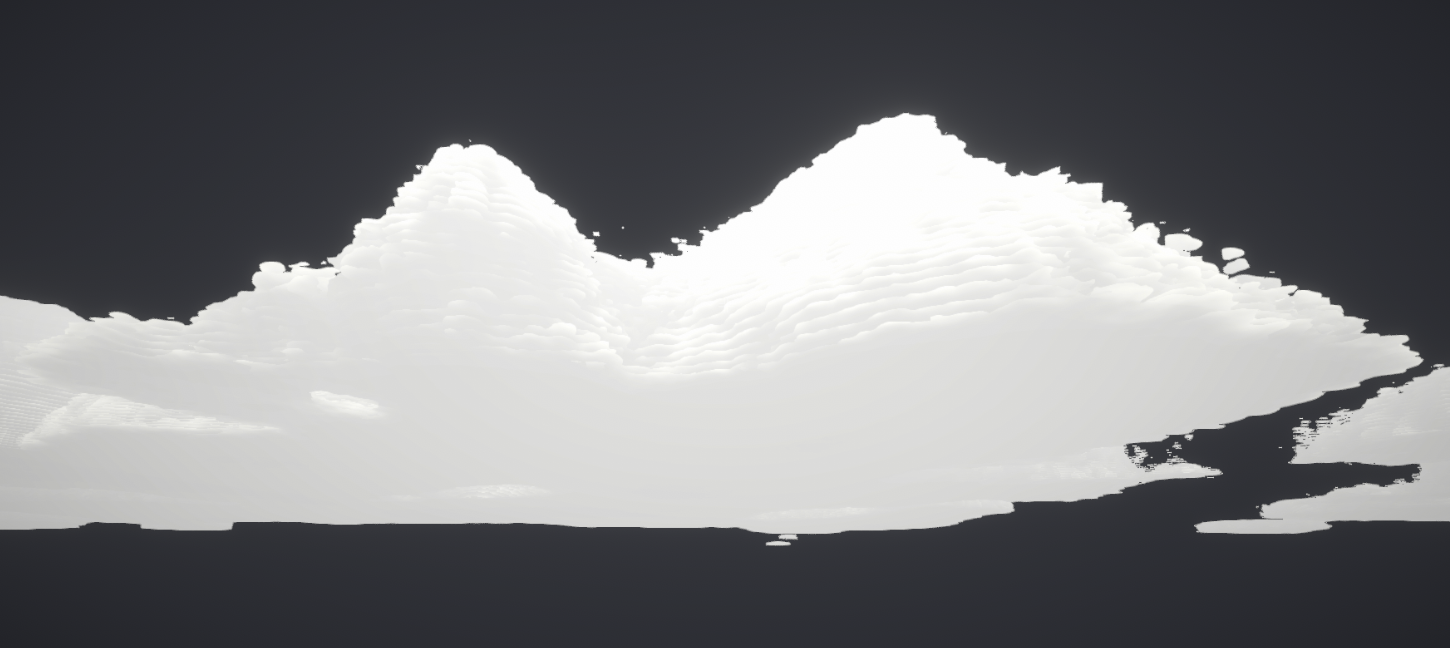
The first, and most obvious solution, is to simply increase the step count of the rays. By increasing the number of steps we reduce the distance inbetween each sample. If you throw enough steps at the problem, the resulting error becomes insignificant and no longer visible.
However it becomes quickly apparent that this, by itself, is not a viable solution. Typically the framerate drops to unacceptable levels long before the bands are no longer visible.
Raymarch Offset
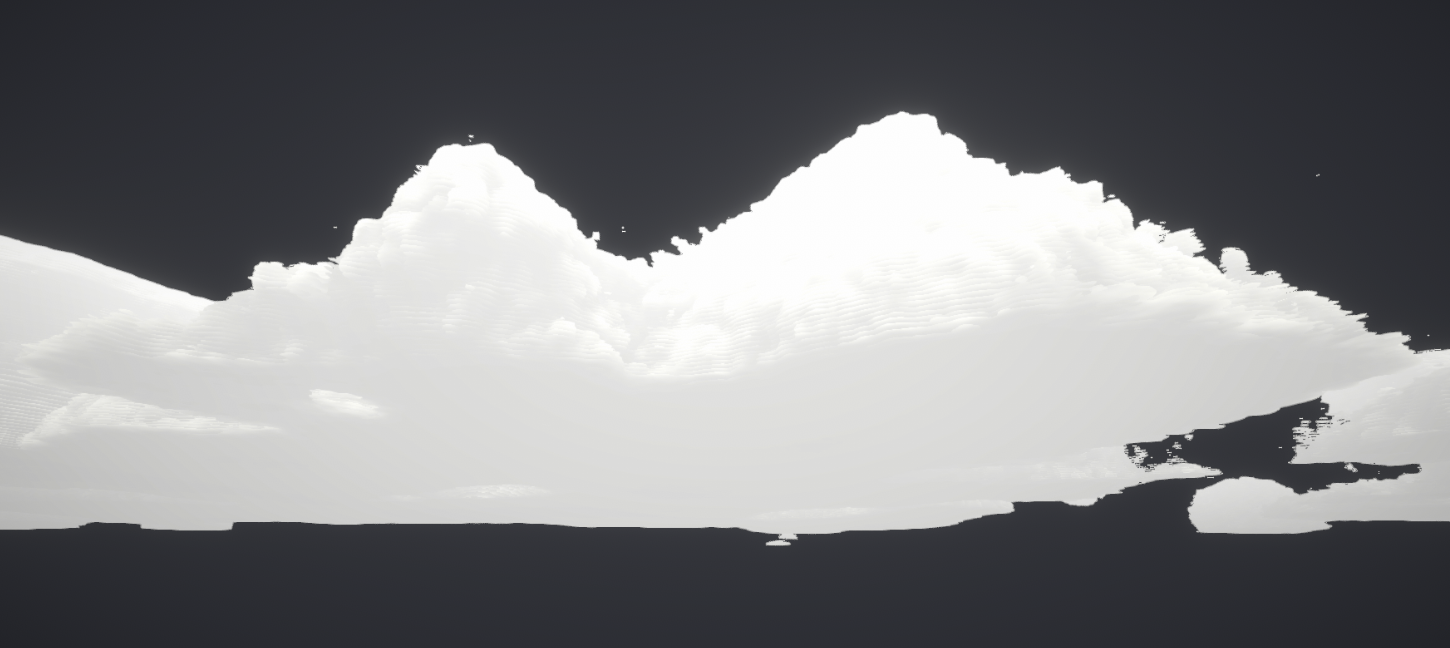
A very effective solution that reduces most of the banding is to randomly offset the first step of each ray. While the undersampling is still present, it is not as apparent since neighboring pixels are no longer entering the volumes at the exact same distance from ray origin.
But how much should the ray starting positions be offset? Typically a fraction of the step size is used.
float offsetModifier = /* 0 ... 1 */;
float stepSize = distanceToTravel / stepCount;
float rayLength = rayStepSize * offsetModifier;

for (int i = 0; i < stepCount; ++i)
{
    float3 position = rayOrigin + (rayLength * rayDirection);

    // ...

    rayLength += stepSize;
}
Then for offsetModifier you typically want to use either a dithering or blue noise texture. This allows for random values which do not vary too wildly and that keep the resulting surfaces smooth. Some free texture resources I have used:
Unfortunately, ray offsetting is not a complete solution. It works very well for surfaces which are facing the camera, but the banding is still visible on those that are turned away.
Adaptive Stepping
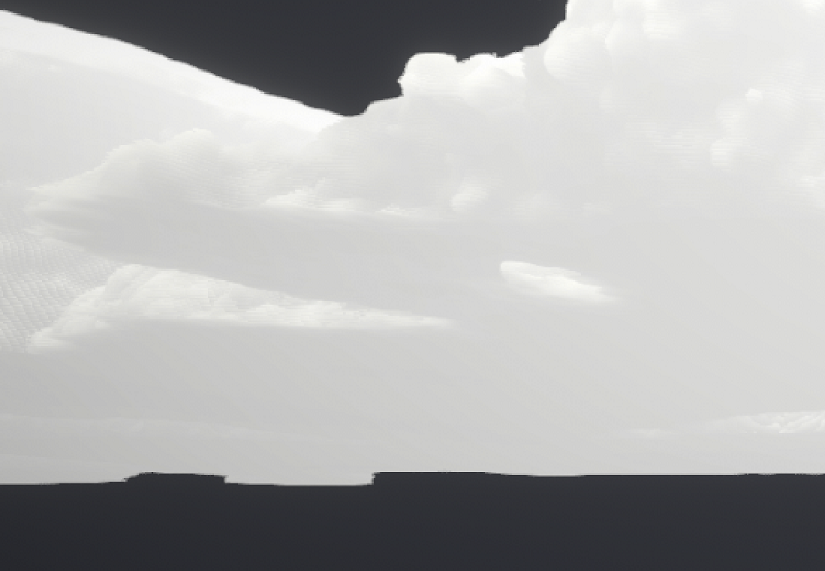
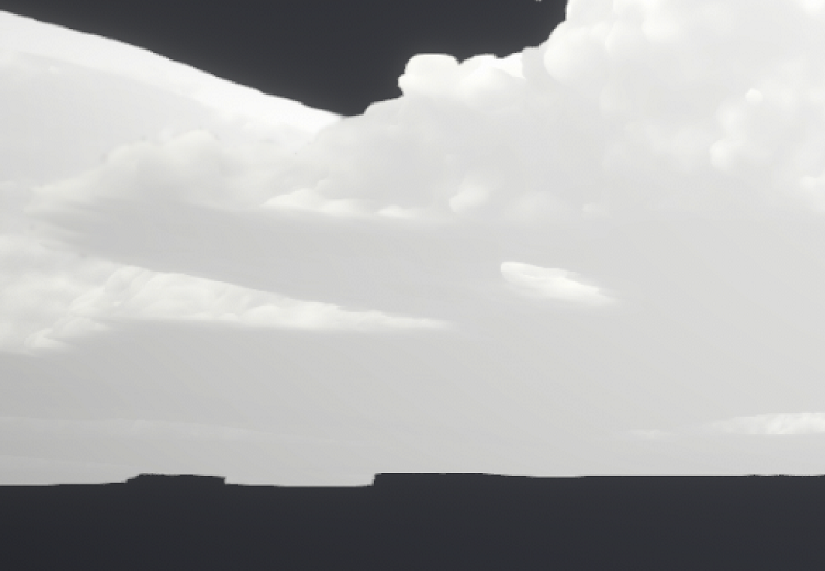
If we enhance the raymarch offset image we can still see some light banding on the cloud edges.
This may not seem noticeable in these still shots, but it is certainly visible at full resolution and particularly with cloud movement and dynamic lighting. To counter the remaining banding we can use what I call adaptive stepping. This is mentioned briefly in the much referenced Real-Time Volumetric Cloudscapes of Horizon: Zero Dawn presentation.
It involves a relatively simple logic update to the raymarching loop where on the first hit you take a step backwards and then proceed to march along at a reduced step size. This continues until you either have full density or you have not hit a cloud for a number of steps. If you have not had a hit after a certain amount of steps you return to the original step size and continue on. Something like this:
bool hasHit = false;
for (int i = 0; i < stepCount; ++i)
{
float3 position = rayOrigin + (rayLength * rayDirection);
float density = SampleClouds(position);
if (density > 0.1f)
{
if (!hasHit)
{
hasHit = true;
stepSize *= 0.25f; // Reduce the step size.
rayLength -= (stepSize * 3.0f); // Take a partial step back.
continue;
}
// ...
}
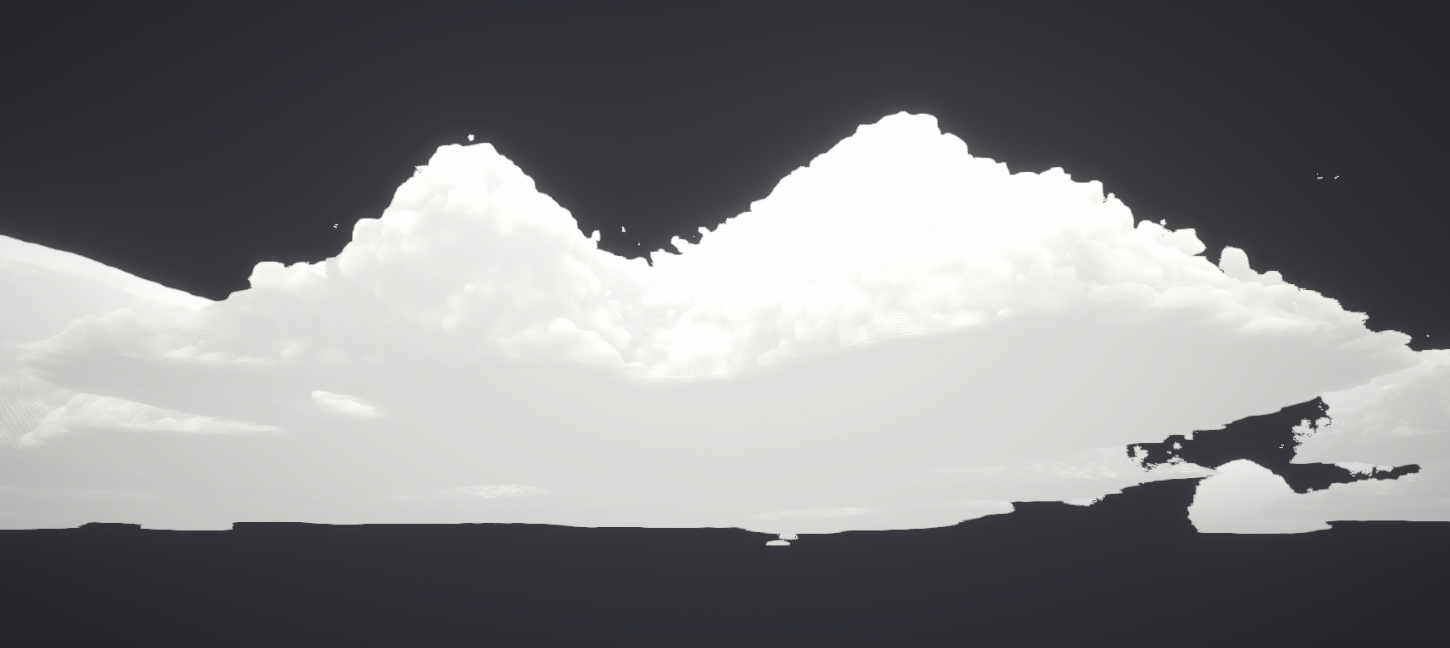
}Effectively we are increasing our sampling rate at the cloud edges. This allows us to march along with large searching steps, and then on contact take smaller accumulating steps.
It should be noted that in my experience, adaptive stepping by itself is not sufficient. It still produces banding and it needs to be paired with the raymarch offset to get the best results.
In Practice
Update 2023-06-20:
Today I stumbled upon this review of the game Astroneer. Now, I have never played this game and can not attest to the fact whether it is still present or not, but bandings artifacts as have been described are clearly visible in the first screenshot of the review.
